Working with date functions in Excel can be a real game-changer, especially when it comes to organizing and analyzing temporal data. Whether you need to pull out the month for a trend analysis or extract the year for creating pivot tables and charts, Excel’s built-in functions make it a breeze.
I’ve found that these date extracts can lead to more dynamic reports with conditional formatting and can help avoid unpredictable results when data changes. Plus, the ease of dragging formulas using the fill handle saves me a ton of time. And let’s not even get started on Power Query and its magic with dates. Whether it’s through video training or a practice worksheet, getting a grip on these functions is key for anyone looking to master Excel.
Extract Year from a Date
If I need to pull the year out of a date in Excel, I’ll click right into cell B1, type the equals sign =, and then summon the YEAR function. Next, I just point it to the cell that’s got my date, like so =YEAR(A1). Once I close off with a parenthesis and tap Enter, I’ll have the year standing solo, ready for whatever comes next.
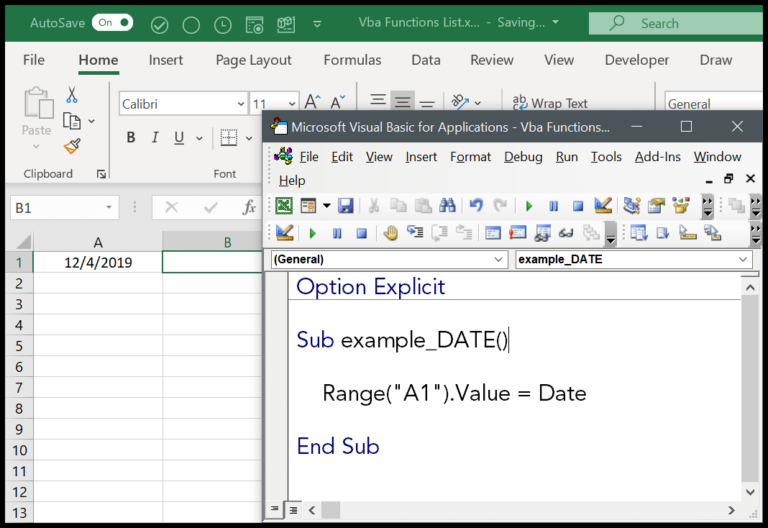
Here’s a quick visual on how that simple formula should look:

Pretty handy for organizing data by year or when I’m up to some trend analysis.
Extract Month from a Date
To get the month number from a date in Excel, I use the MONTH function:
- I click on the cell where I want the result, let’s say B1.
- I type in
=MONTH(, then click on the cell with the date, like A1. - I close it off with
)and press Enter.
The month number appears. It’s that simple!

Use TEXT Function to Get Year or a Month from Date
When I need to display the year or month from a date in Excel, I often turn to the TEXT function. It’s really simple to use, and the results are instant. Let’s break down how it’s done:
- Syntax:
=TEXT(value, format_text) - Value: The actual date from which I want to extract the information.
- Format_text: Defines how I want the extracted part to appear.
For extracting the four-digit year, my format_text is "yyyy"; if I want just the two-digit year, I switch it to "yy". To get the month name, I use "mmm" for the abbreviated form or "mmmm" for the full month name. To retrieve only the month number, "mm" does the trick.
Here are some quick examples:
| Date | Formula | Result |
|---|---|---|
| 02/09/2024 | =TEXT(A2,"yyyy") |
2024 |
| 02/09/2024 | =TEXT(A2,"yy") |
24 |
| 02/09/2024 | =TEXT(A2,"mmm") |
Feb |
| 02/09/2024 | =TEXT(A2,"mmmm") |
February |
Using the TEXT function, I keep my data neatly formatted and ensure consistency across date formats. It’s a neat little feature that has saved me countless times when preparing reports and data overviews.
Use Custom Formatting Get Year or a Month a Date
When I need to display just the year or month from a date in Excel, I use custom formatting. Here’s how I do it:
- I select the cell with the date.
- I press Ctrl + 1 to open the Format Cells dialog.
- I choose the Custom category.
- In the Type field, I enter “YYYY” to get the year or “MMMM” for the full month name, “MMM” for the abbreviated name.
- Hitting OK applies the format.
With this method, the cell only shows the year or month, but the underlying date value remains unchanged. It’s a clean solution to present data without altering it.


