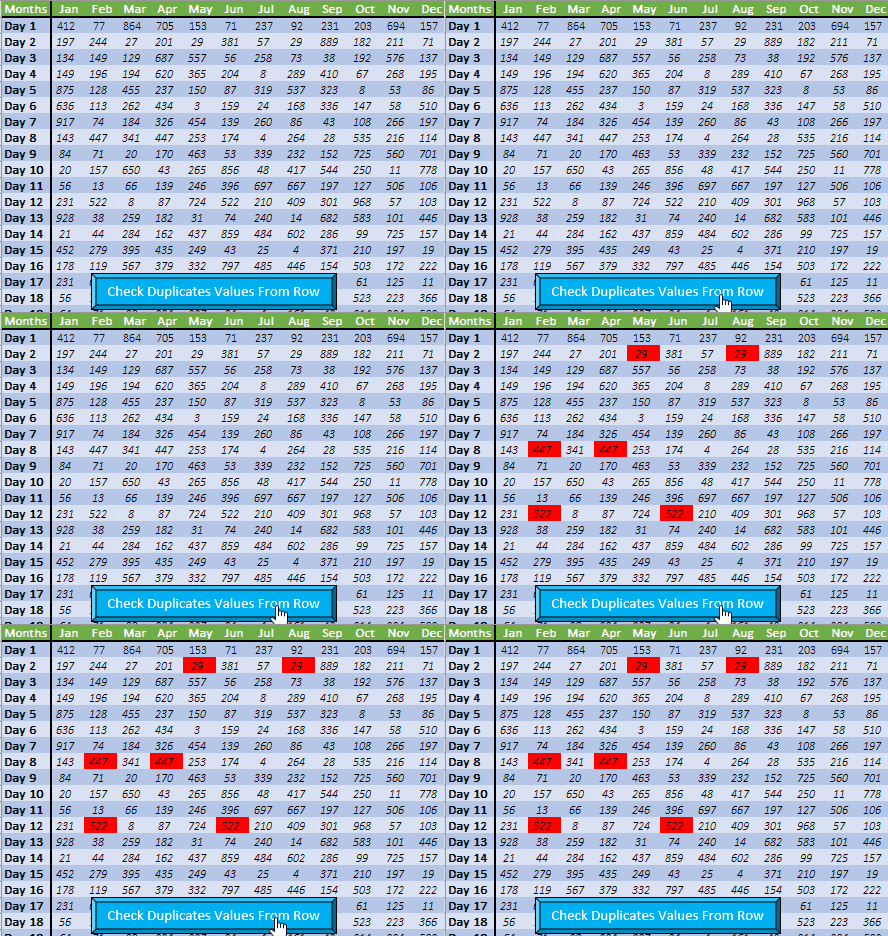
I’ve been exploring the practical features of Excel and came across a neat trick that can streamline tasks—adding buttons to a worksheet. These aren’t just ordinary buttons; they’re macro-enabled, which means they can perform tasks like filtering data, running complex formulas, and printing documents, all with a single click. It’s a game-changer for efficiency.
Considering how Excel offers multiple methods to insert these buttons, I decided to focus on the straightforward approaches that make it a breeze even for those new to macros. Whether it’s automating repetitive tasks or simplifying your workflow, incorporating buttons could be your next step in mastering Excel.
Add Macro Buttons Using Shapes
I find that using shapes to create macro buttons in Excel gives me a lot more flexibility with design and formatting. When I want to add a custom button, here’s what I usually do:
-
I start by heading to the Insert tab and selecting Shapes under the Illustrations group. I typically go for a rectangular shape, which you can see an example of here:

-
Next, I click and drag on the worksheet to draw the button to my preferred size. It looks something like this:

-
To get the text just right, I double-click on the shape and type in my desired label. Here’s an example:

-
For sprucing up the button, I swing by the Shape Format tab, where I can fine-tune my text with styles and colors, and give the button itself some pizzazz with a fresh coat of paint or some nifty effects.
-
Once I’m happy with the look, I right-click on the shape to bring up a menu that lets me edit text, add hyperlinks, or—the best part—assign a macro. I choose the Assign Macro option and get down to business by picking the macro I need from the dialogue box that pops up.
-
Now, my button is macro-enabled, which means it’s ready for action. I point my cursor at it, and it switches to that familiar hand pointer, telling me it’s clickable.
-
To make sure my button stays put, I format the shape so it won’t move or resize with the cell changes.
Using this process, I end up with a stylish, functional macro button that really makes my spreadsheets pop. Plus, it’s user-friendly, which always scores points with my colleagues!
Add Macro Buttons Using Form Controls
When I need to streamline tasks in Excel, adding macro buttons is a lifesaver. Here’s a quick rundown on setting them up with form controls:
-
I start by navigating to the Developer tab, then hit the Insert icon in the Control group.

-
Next, I choose the first button from the Form Controls menu and draw out the button on my worksheet.

-
In the Assign Macro dialog box, I either pick an existing macro or type in a new macro name, then click OK. No macros yet? No problem—I can always cancel and assign one later.

-
If I need to make changes or tie the button to a macro afterwards, I just right-click the button and select Assign Macro.
For a personalized touch, I right-click the button, hit Format Control, and adjust the button’s looks to my liking.

I found a nifty trick to keep buttons in place: go to the Properties tab in the Format Control window and select Don’t move or size with cells.

And just like that, my worksheet’s functionality gets a boost with these handy buttons.
Add Macro Buttons Using ActiveX Controls
I find that the Developer tab in Excel is quite handy when I need to add interactive elements like ActiveX control buttons to my sheets. Here’s how I do it:
- Open the Developer Tab: I click on the Insert icon.

- Insert ActiveX Control: From the ActiveX Controls, I choose the command button and draw it onto my worksheet.

- Enter Design Mode: To bind a macro, I make sure to enter Design Mode.
- Write VBA Code: I then click View Code to open the VBA editor where I can write the macro.

- Assign Macro to Button: In the VBA editor, I find CommandButton1 to assign my macro to the button’s Click event.


