I’ve always been a fan of Microsoft’s Office suite for its powerful features, and AutoSave is one of those nifty little functions they’ve introduced recently. It works seamlessly with OneDrive and SharePoint, constantly saving your Excel files and ensuring there’s always a backup. This is especially handy when you’re working on important documents and the unexpected happens – you know, like your computer deciding to take an impromptu nap.
But what if you’re like me and sometimes you want more control over when your file saves, or you’re working on a draft that’s not quite ready to be saved over the original? Well, the good news is that disabling the AutoSave feature is possible. It’s a straightforward process, so you can easily switch between having it on for some tasks and off for others, ensuring it suits your workflow to a tee.
Turn OFF AutoSave from Excel Options
To prevent Excel from auto-saving to the cloud by default:
- I navigate to the File Tab and select Options to access the Excel Options.
- I click on the Save tab on the right.
- I look under the Save Workbooks section and clear the check from AutoSave files stored in the Cloud by default in Excel.
- I click OK to apply the changes.

By doing this, Excel won’t automatically save new files to OneDrive with AutoSave turned on. However, for files I’ve already saved to OneDrive, I need to manually switch off AutoSave using the quick access toolbar.
Turn OFF AutoSave Without Turning it OFF!
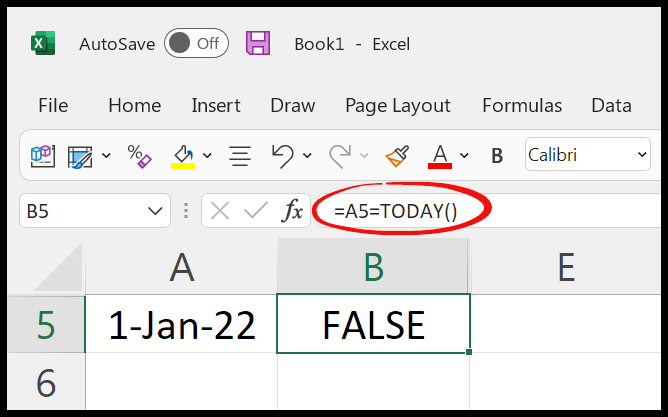
To quickly disable AutoSave, I just hit the toggle on my quick access toolbar—easy peasy!


