Splitting text data within Excel is a surprisingly versatile skill often needed for organizing and manipulating information. Typically, Excel users find themselves dividing text into columns, but there are indeed times where the necessity flips, mandating a split into rows. Picture this: you’ve got a list of names or a multi-part address crammed into a single cell, and you’re aiming to neatly distribute these elements into separate rows. Whether it’s for clarity, functionality, or aesthetic reasons, mastering the task can make your Excel experience significantly smoother.
Happily, Excel offers a few slick methods to achieve this, from the novel TEXTSPLIT function introduced in the later versions like Excel 365 to the classic Text-to-Columns feature followed by Transpose, and for those who don’t shy away from coding, a dash of VBA can do the trick. For each technique, Excel wizards have harnessed the powers of delimiters and custom functions to turn a jumbled cell into an orderly column. And just to make your journey easier, you can walk through the process with an example file tailored for tagging along. Time to roll up our digital sleeves and dive into the rows—Excel style!
Key Takeaways
- The TEXTSPLIT function provides a formula-based approach to split text into rows.
- Text-to-Columns combined with Transpose allows for rearranging text from one cell to multiple rows without custom code.
- Custom VBA functions can be created for specialized text splitting into rows, offering a tailored solution for more complex scenarios.
Split Text into Rows Using TEXTSPLIT Function
Split Based on One Delimiter
When I have to split an address in cell A2 into different parts (name, street, city, pin code), I use a comma as the delimiter. This is the formula I apply:
=TEXTSPLIT(A2,,", ")
In this scenario, I ensure there’s a comma followed by a space for every part of the address. If I encounter data without the space, I simply omit it from the delimiter. To strip any leading spaces that may result, I use:
=TRIM(TEXTSPLIT(A2,,","))
Split Based on Two or More Delimiters
If I’m faced with multiple delimiters, like a dash and a comma, TEXTSPLIT can handle that too. I use:
=TRIM(TEXTSPLIT(A2,,{",","-"}))
Here, the curly brackets {...} allow me to define an array of delimiters. TEXTSPLIT then splits the string in A2 at each instance of both the comma and the dash.
Split Based on Line Breaks
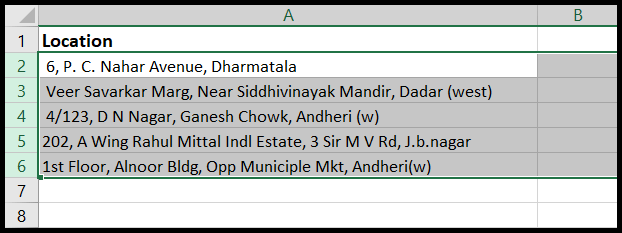
Sometimes, a cell contains line breaks that I want to convert into separate rows. Let’s say I have an address in cell A2 with multiple line breaks. I use this formula to split the text using line breaks as delimiters:
=TEXTSPLIT(A2,,CHAR(10))
In Excel, CHAR(10) returns the line break character, which TEXTSPLIT interprets correctly to split the text.
Split Multiple Cells into Rows in One Column
Imagine I have a set of names in multiple cells, but I want to split these names into individual rows in one column. The combination of TEXTJOIN and TEXTSPLIT comes to my rescue:
=TRIM(TEXTSPLIT(TEXTJOIN(",",,A2:A4),,","))
This formula joins the text from cells A2 to A4 with a comma using TEXTJOIN and then splits them into separate rows using TEXTSPLIT. It’s a neat way to consolidate and then expand data as needed.
Split Text into Rows Using Text-to-Columns and Transpose
When I need to reorganize data in Excel and I don’t have the luxury of using the TEXTSPLIT function, I find the Text to Columns feature coupled with Transpose to be quite the dynamic duo. For example, if I have an address in cell A2 and I want to split it using a comma as a delimiter, I can achieve separate rows for each part of the address with just a few steps.
Here’s a rundown on how I tackle the problem:
Firstly, I split text into separate columns:
- I select the cell or range containing the text.
- I click on the Data tab.
- I then choose the Text to Columns tool.
- In the wizard, I opt for the Delimited option and hit Next.
- I mark ‘Comma’ as my delimiter, making sure other options are deselected, and again click Next.
- I specify the Destination cell for the results, say A4, and finish with a click on Finish.
After splitting, my data is laid out in columns.
Now, to get them into rows:
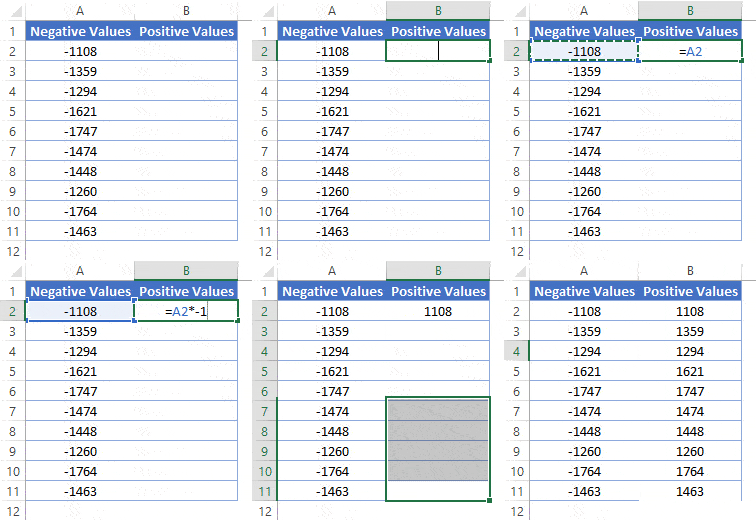
- I select the newly created columnar data and copy it with Ctrl + C or by right-clicking and selecting Copy.
- I right-click on the cell where I want my rows to start.
- I go to Paste Special and then choose Transpose.
And voilà! I have my data nicely transposed into rows.
It’s pretty straightforward, yet there are a couple of hitches. This way, the data isn’t linked dynamically—so if I tweak the original cell, I won’t see changes reflected in my split data automatically. Plus, I’m limited to splitting by one delimiter at a time, unlike the TEXTSPLIT function which allows for multiple separators.
For a quick fix though, splitting text to columns and then transposing gets the job done. Just remember, after transposing, you can clean up by deleting the intermediate columnar results if needed. It’s a slightly longer walk down the street than using TEXTSPLIT, but at the end of the day, I reach my destination just the same.
Split Text into Rows Using VBA (Custom Function)
Where to Put this Code?
I open the Visual Basic for Applications (VBA) editor by holding down the ALT key and pressing F11. Alternatively, I can access it via the Developer tab by clicking the Visual Basic icon. Here’s what I do next:
- Once inside the editor, I click the Insert menu then select Module; this adds a new module to the project.
- I paste the provided VBA code into the module’s code window.


- To save the code, I click the Save icon or use the shortcut Control + S.
- Lastly, I close the editor to return to Excel where I use the function just as any other Excel function.

How to Use this VBA Custom Function?
Let me show you an example. I have an address in cell A2 that I want to split. Using the formula below in cell A4 does the trick:
=SplitCellToRows(A2,",")

The function takes two parameters:
- A2: The reference to the cell with the text to split.
- “,”: As my text is comma-separated, I use a comma enclosed in quotes as the delimiter.
Things to Know When Using VBA-Created Functions
A few quick notes about VBA User Defined Functions (UDFs) that I find really crucial:
- The workbook must be saved as a macro-enabled file (.xlsm) so I can use the function again later.
- UDFs don’t offer intellisense or argument hints, so I make sure I’m clear on the input the function requires.
- If I share my workbook, others won’t be able to use the UDF unless they also add the code to their VB Editor.
For those with the latest Excel versions, TEXTSPLIT is the easiest way to go about it. For others, VBA can be a lifesaver—whether it’s through the Text to Columns and Transpose functions or crafting my own solution as demonstrated.


